How Software works ?
- Download & Launch the Software on your system.
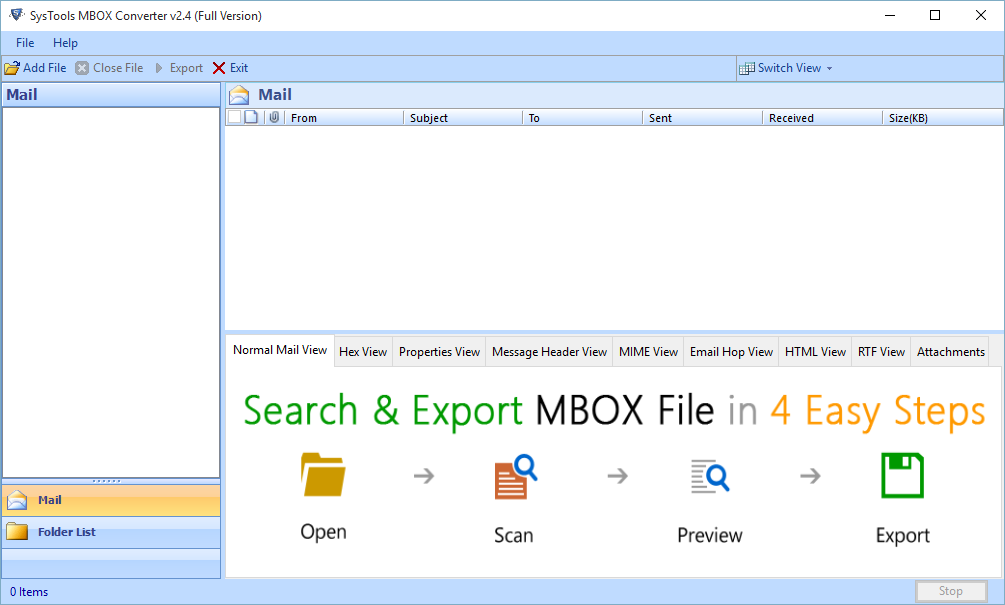
-
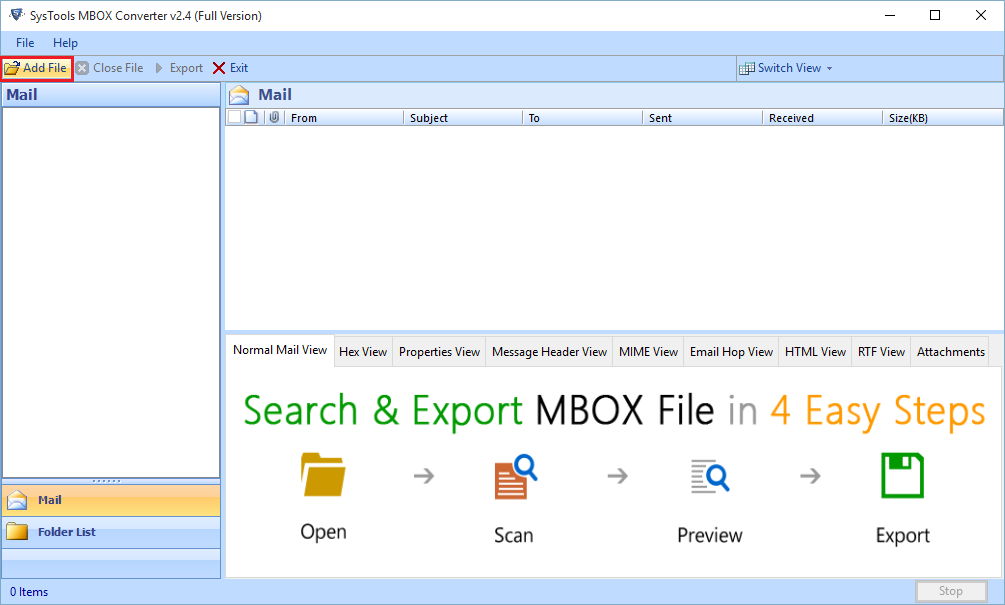
Click on Add file option to load .mbox files for conversion.
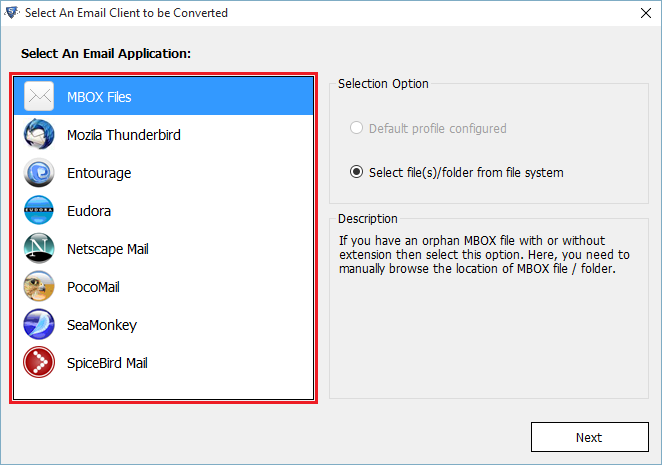
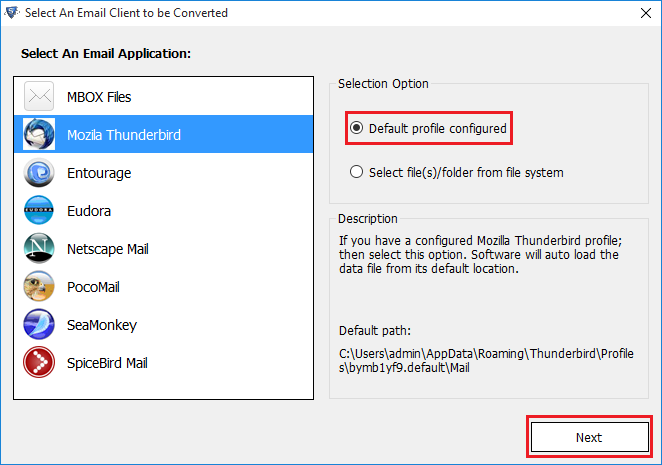
- Select any one email client which is installed in your system.
-
After choosing email application click the radio button “Default profile configured” and click Next.
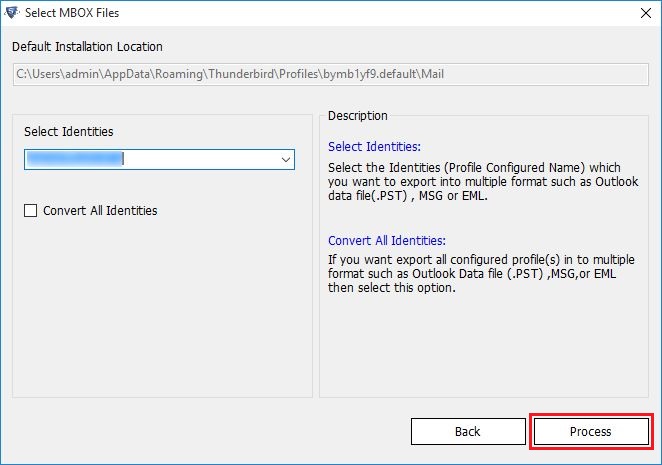
- Click on Process button, this software will fetch the data automatically from its default location.
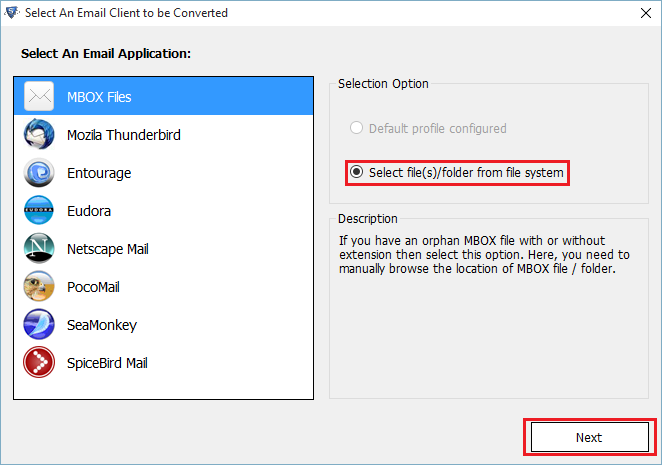
- You can also select the MBOX file manually by selecting the radio button select file or folder from file system. Click on Next button.
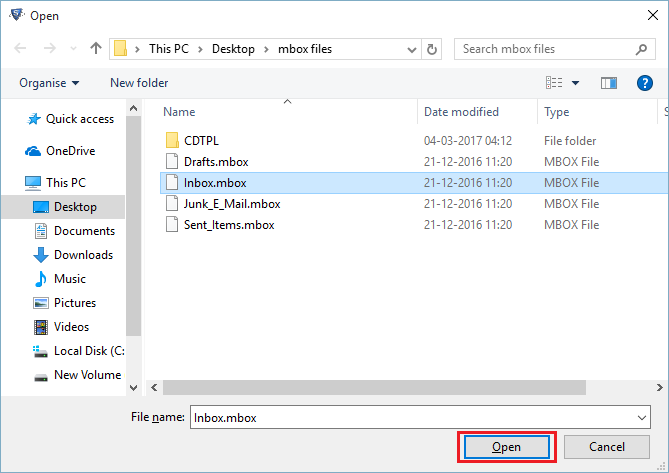
- Now browse the mbox file location.
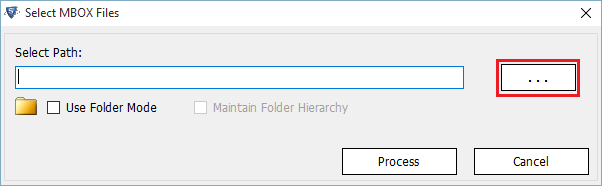
- Select the desired mbox file from your system and Click on open.
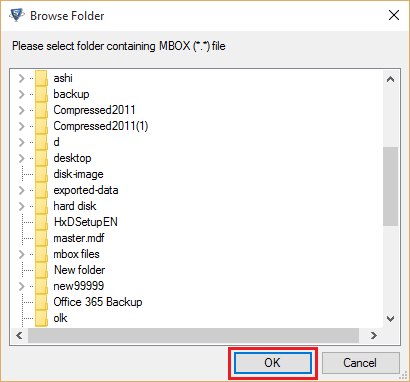
- For multiple mbox files you can browse for the folder mode.
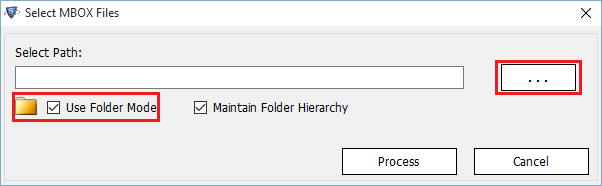
- Select the folder containing multiple files to export and click on OK.
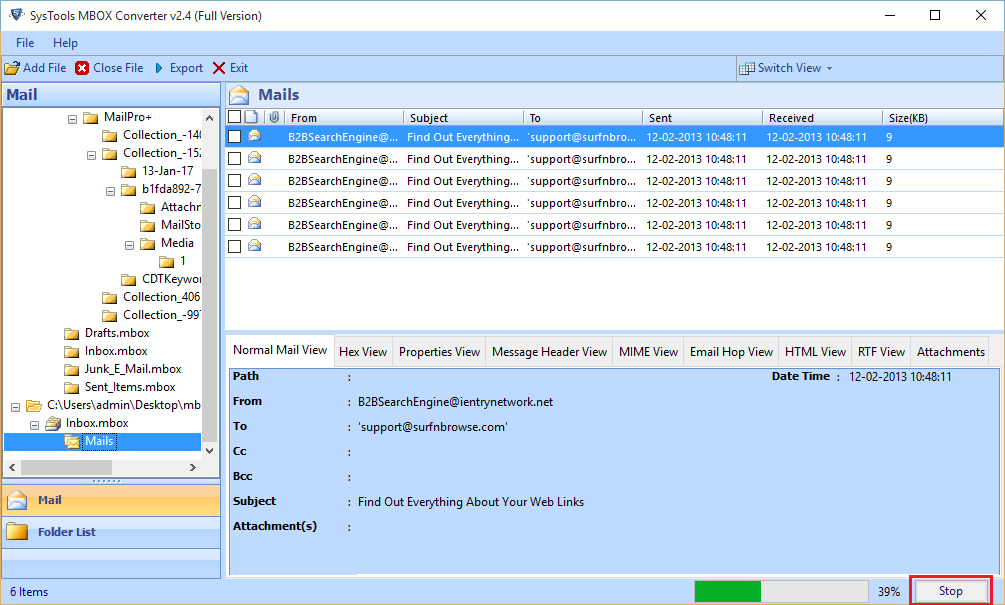
- The software will load all the emails and you can stop loading this emails in between by clicking on Stop button.
-
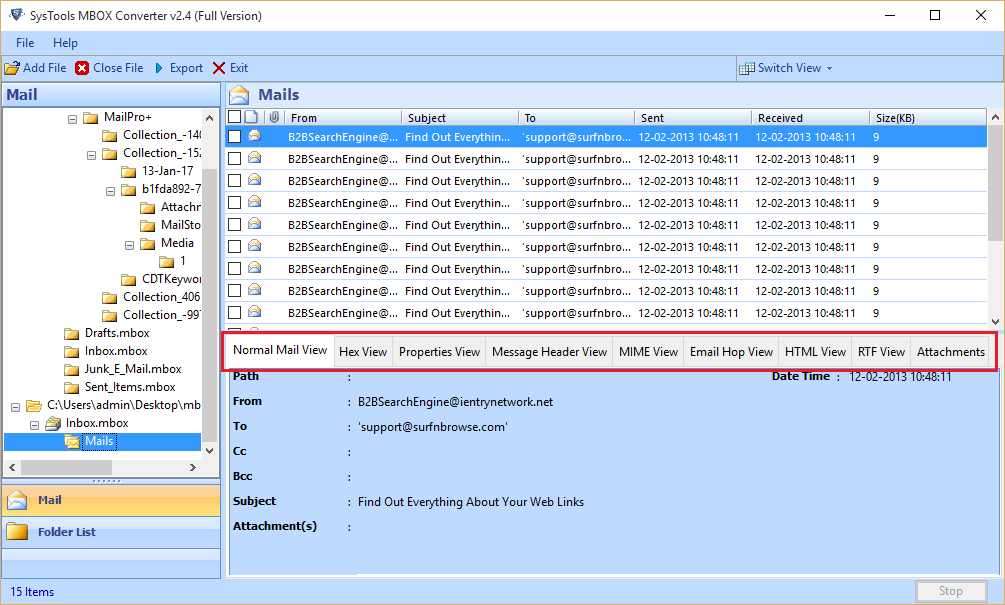
The preview of emails can be seen in multiple preview option as given below in screenshots.
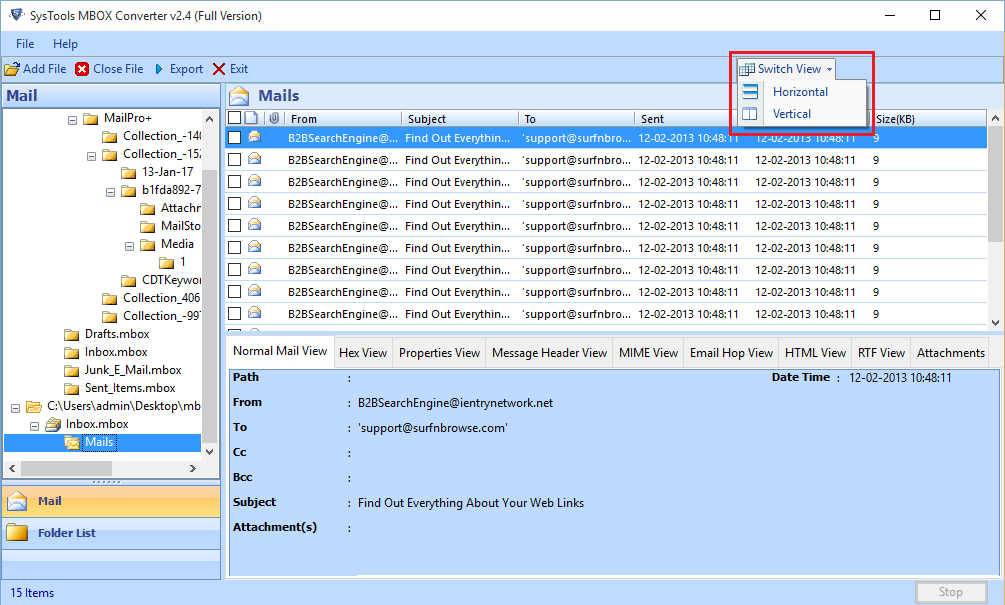
- User can switch the view mode either horizontal or vertical anytime according to their convenience.
-
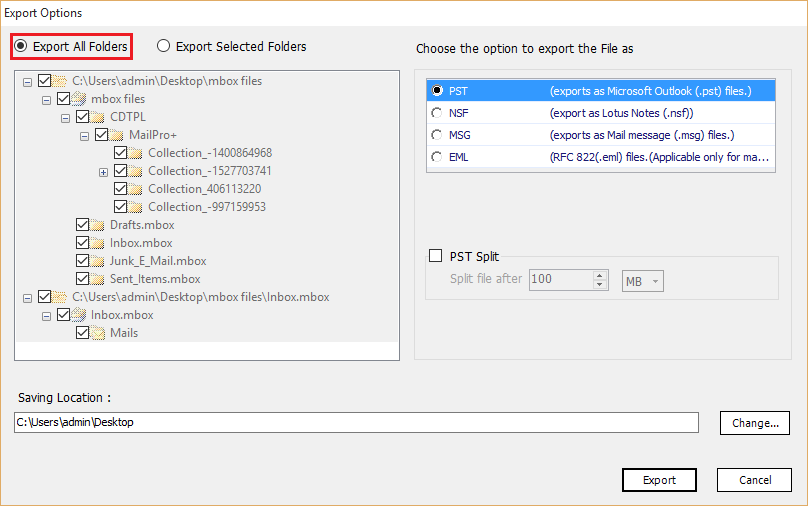
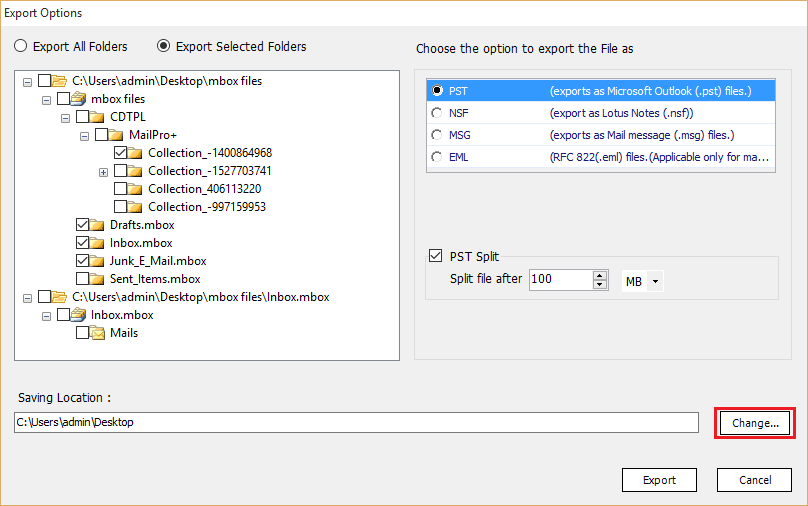
To export all files and data of MBOX file click on Export All folder.
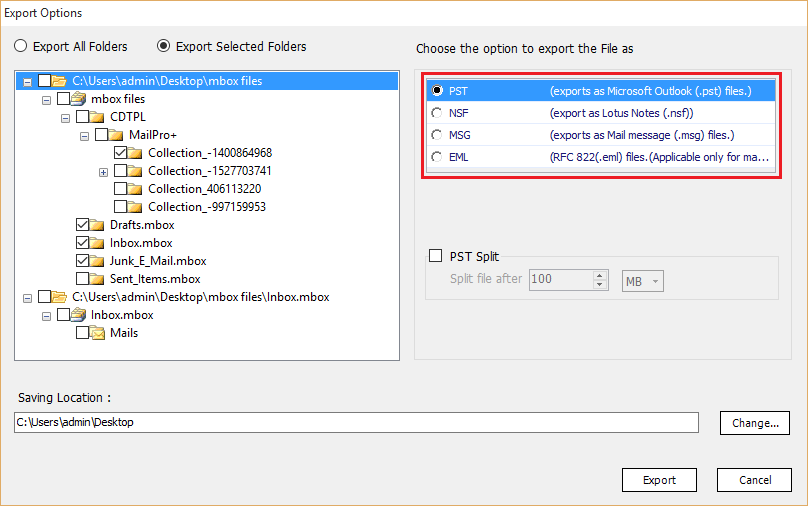
- For selective conversion, select the desired folders and click on Export Selected Folders and choose any one Export option.
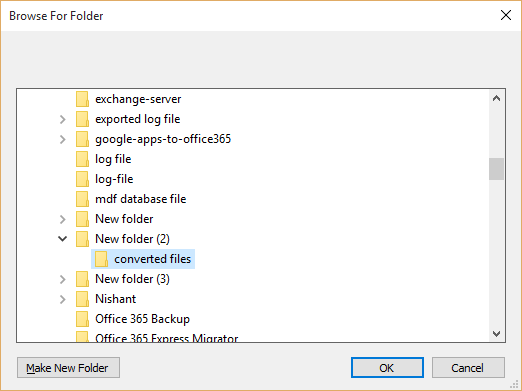
- Browse the location where you want to save the exported file by clicking on Change button.
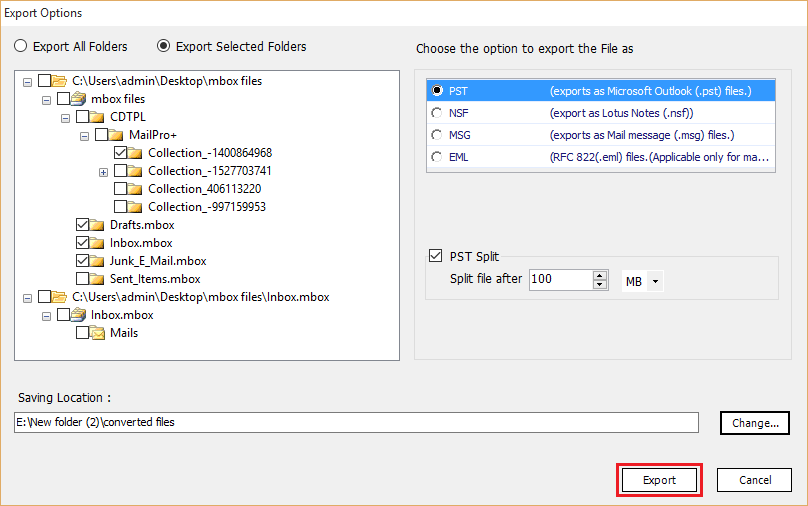
- Select the folder or create new folder in which you want save the converted data. Click on OK.
- To start the Export process, click on export button.
- The progress window will show the folder name, item count and Stop process button so that you can stop the progress anytime.
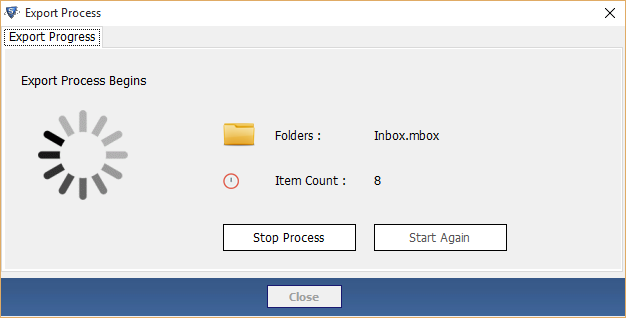
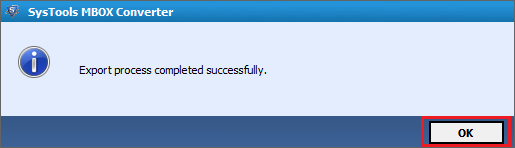
- After complete process, a window will be displayed showing message “Export process completed successfully”